Today I will show you how I made a pretty headband for my mini niece.
Materials:
 |
| plastic headband, some ribbon, a crocheted flower I had made previously, hot glue or craft glue |
 |
| Cut three lengths of ribbon, about 3"-4" long. Cut the ends to form points, and glue together to form a star. |
 |
| Glue to headband. Glue flower on top of ribbons. |
 |
| Press to make sure everything is in place. |
 | ||||
| This is how it looks on the back. You may glue a small piece of ribbon to cover this side and to hold it all together. I didn't. 8-) |
And that's it! It looks pretty and my mini niece liked it. Have fun!
~~~~~~~~~~~~~~~~~~~~~~~~~~~~~~~~~~~~~~~~~~~~~~~~
April 11, 2014
At this time, I will share with you my take on THIS floral wreath. So, here's the list of materials.
 |
| an old magazine |
 |
| straight pins and scissors |
-

a foam ring
 |
| buttons |

 | ||
| First of all, pull out two or three pages from the magazine and fold them twice lengthwise. |
 |
| Cut a petal shape from the folded side. This way, you get two petals together. |
 | ||
| See? |
 |
| When you have a whole bunch of them, attach them to the foam ring with a button and two straight pins. |
 |
| Keep going... |
 |
| and going... |
 |
| Use a piece of ribbon as the hanger. Pin it to the ring. |
 |
| Almost there... |
 |
| TA-DAAAA!!! |
 |
| Hang it on your favorite entrance. I sprayed it lightly with some hair spray to keep the petals from moving too much. It's windy out there!! 8-) |
That's it! Hope you enjoyed it enough to make your own. If you do, post some pics for me to see, OK? Thanks!
Till next time!
@@@@@@@@@@@@@@@@@@@@@@@@@@
February 12, 2014
Today I will share the other tutorial I had forgotten. It is about dehydrating potatoes.
Materials: potatoes 8-), knife, dehydrator.


Place them on your dehydrator. That's it! Keep rotating the trays until all potatoes are dry and very reduced.


See how crinkly they look? Remember that to RE-hydrate them you need to place them in warm water. They will in no way recover their size fully, but you'll be able to use them in soups, salads, and such.
I saved them in a vacuum sealed bottle.
Enjoy! 8-)
^^^^^^^^^^^^^^^^^^^^^^^^^^^^^^^^^^^^^^^^^^^^^^^^^^^^^^^^^^^^^^^
February 7, 2014
I just found TWO other tutorials that I wanted to share with you. Never mind the date on the pictures, the information is up to date and valid. The first one is about freezing avocados for later use.
Materials needed: avocados, pineapple or lemon juice, blender, sandwich bags.
 |
| Let's start with a bunch of avocados from the tree...too many to eat. |
 |
| Depending on the amount of avocados, I add a leaf or two or basil, for flavor. |

Use pineapple or lemon juice. All this does is prevent the avocado from turning dark with oxygen.

 |
| Put everything in the blender. Remember, I usually eyeball everything, so you do the same. |
 |
| See the leaf? |
 |
| Blend until nice and smooth. |


 |
| Pour in clean, preferably new sandwich bags. Close and freeze. |
This way, if you have an excessive harvest of avocados, they won't get wasted. As long as your avocados are frozen, they will stay good to eat. Once thawed, use for guacamole, pico de gallo, or any other way you choose. You can even spread it on bread, like we do in Puerto Rico: avocado sandwich! mmmm 8-)
February 7, 2014
Hello:
Today I will show you how I made a heart wreath for the front door. It was quick and super easy. The materials were: ONE wire coat hanger; wire tweezers; about half a yard of red scrap fabric (+/-); scissors; hot glue gun OR UHU /craft glue; less than a yard of red ribbon. Here's what I did:
 | ||
| First: I bent the hanger to "look" like a heart. It doesn't have to be a perfect heart, just a general shape. You might want to use the tweezers to help you with this step, I just eyeballed it. |
 | |
| Second: Cut strips of fabric that are one inch wide by 8 inches long. |
 |
| Keep cutting |
 |
| When you are finished, cut the strips in half. Your should have a whole bunch of strips one inch wide by 4 inches long. |
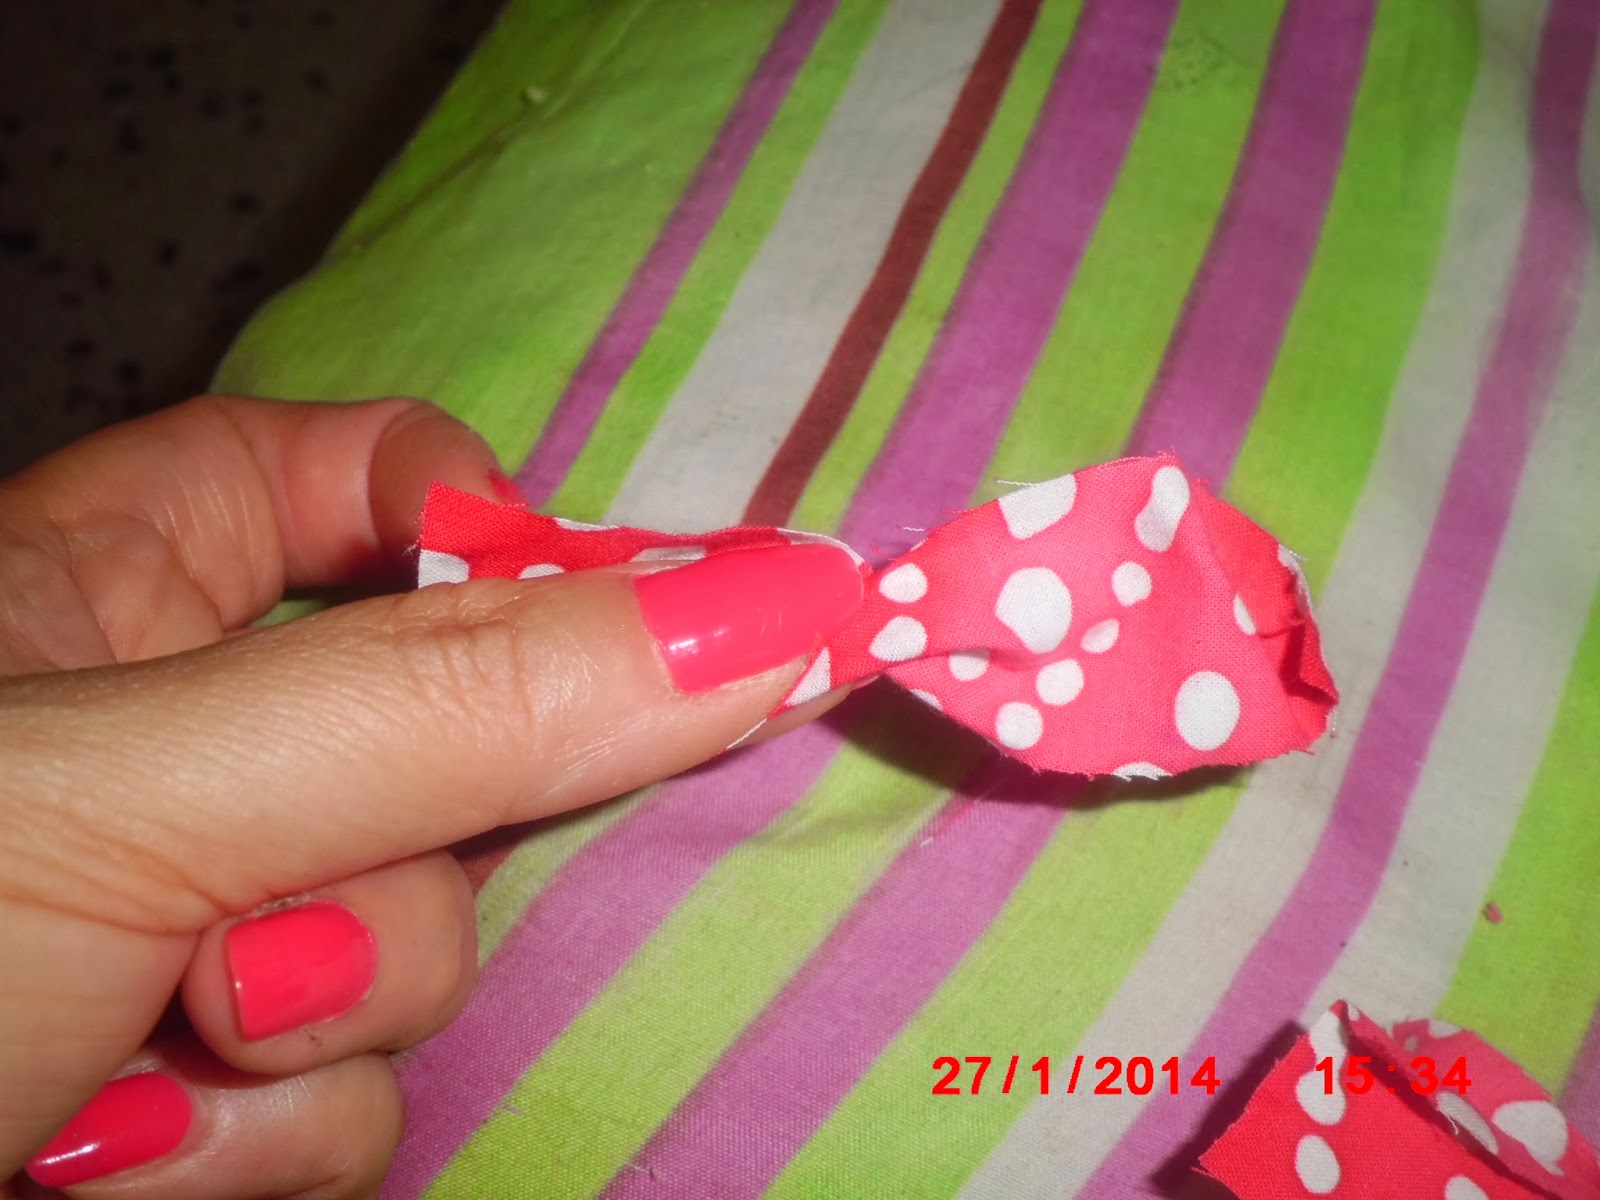 |
| Now you are ready to start the wreath. Twist the center of the strip and tie all around the hanger. |

 |
| Keep on... 8-) |
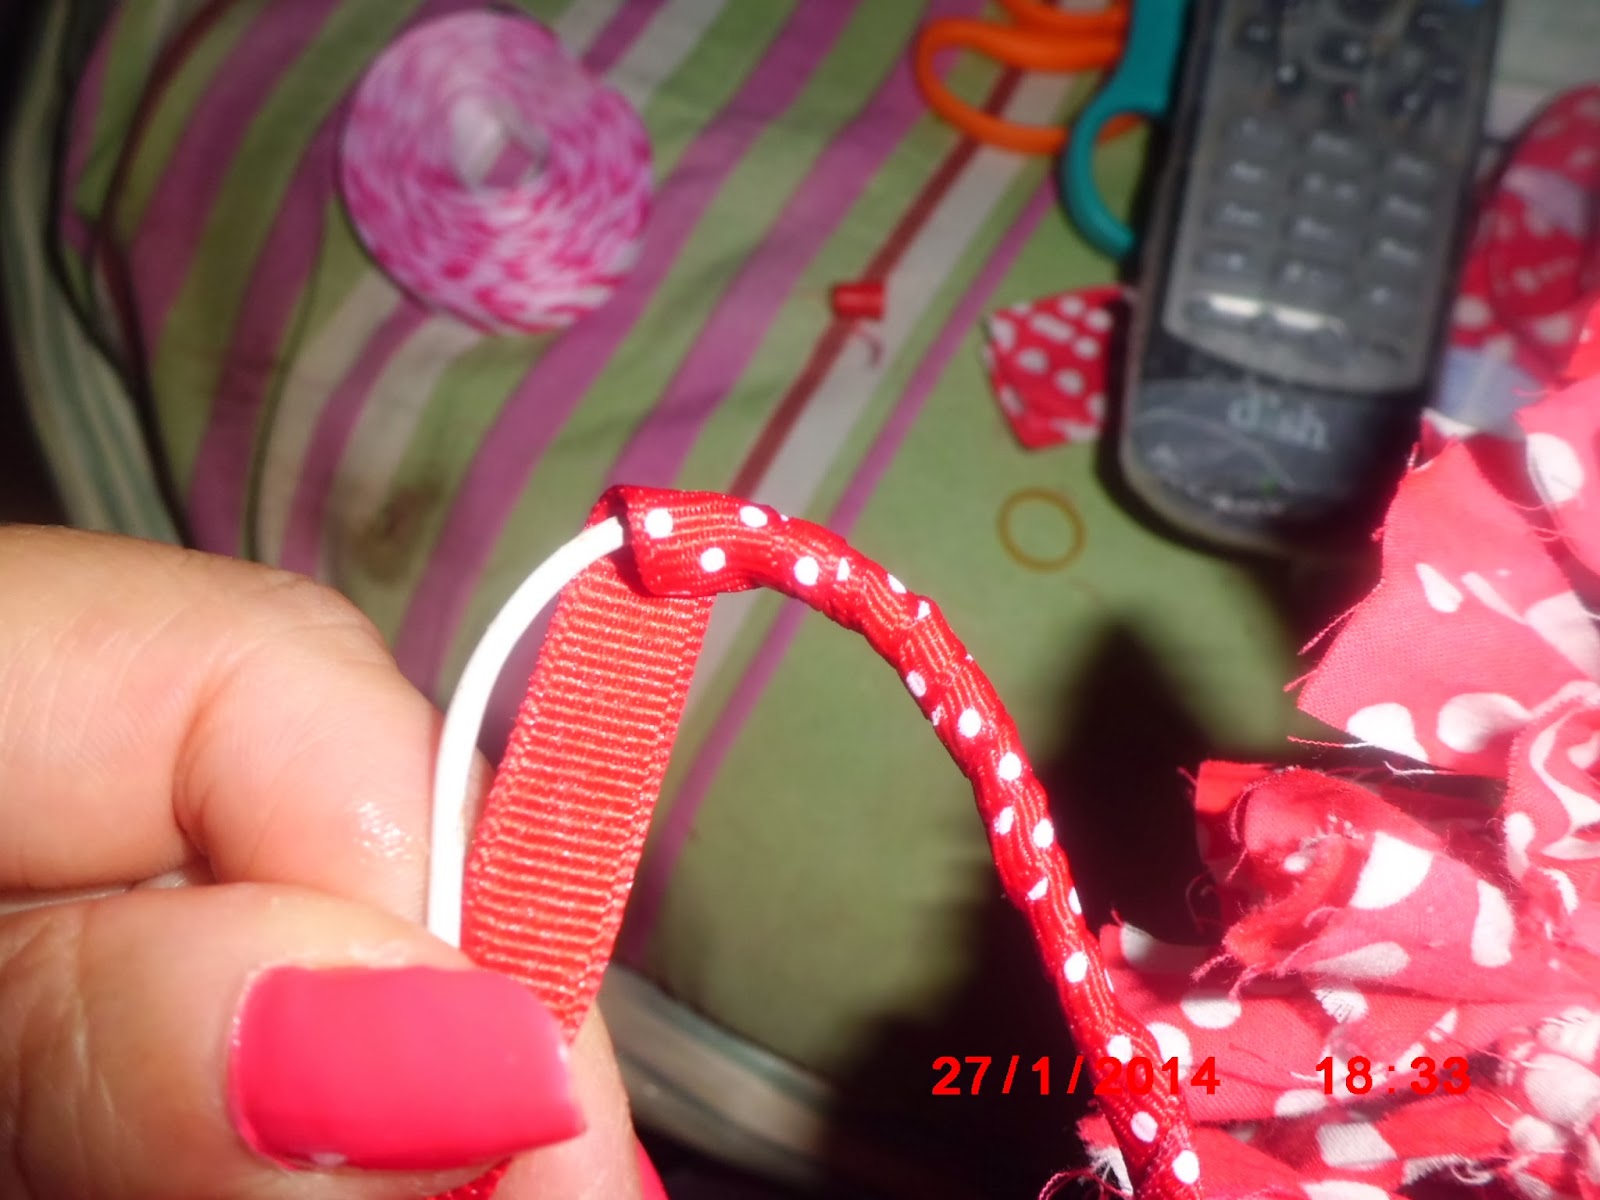 | |
| Make sure your strips are very tightly close together. Use the ribbon and glue to cover the hanging part of the hanger. |
 |
| TADAAA!!! See how pretty it is when finished? My hubby's toes photobombed this pic. 8-) |
 |
| Pretty, pretty and happy, happy, happy. 8-) |
**************************************************
January 2, 2014
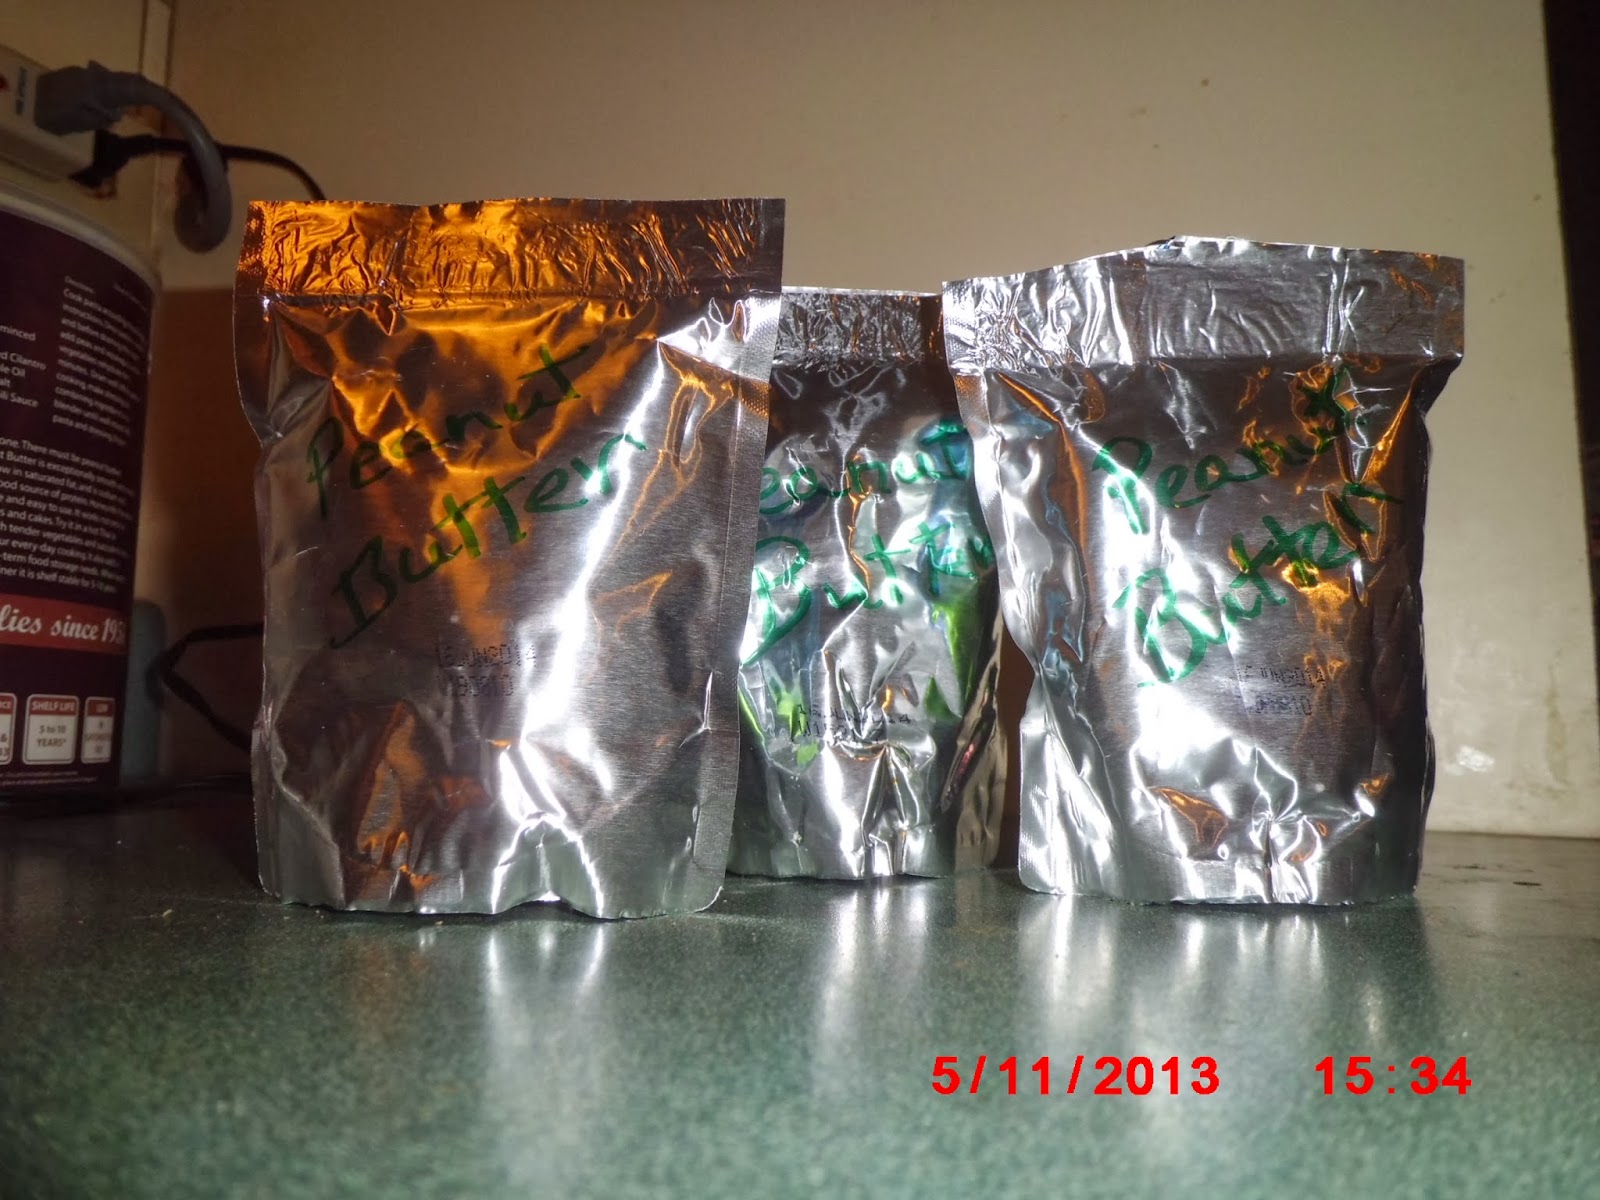
Two days in a row, cool! Ok. Today I'm going to share how I saved some powdered peanut butter in juice bags.


Anyway, just press together the edges with the hot iron. Hold for a couple of seconds. Repeat on the other side, and ...

Here's a link to a YouTube video of a person explaining this.
http://www.youtube.com/watch?v=mz-Q-KW7cW8
Let me know if you have stored anything and how it turned out!
%%%%%%%%%%%%%%%%%%%%%%%%%%%%%%%%%
January 1, 2014
Hello, everyone!! Here I am going to show you how I fixed some towels and saved them from becoming rags.


Yup, I started stitching. However, as you can see, the ribbon is not as wide as the strip on the towel is. So I added another ribbon to make up for it.

And then I stitched down the center. It looked pretty nice, if you ask me.


However, I realized it would probably be easier to stitch if I first joined the two ribbons and then sew them onto the towel as one wide ribbon, so I did.


Cool, huh? However, I ran out of ribbon and had to improvise in order to complete one of the sides.

Don't worry, I managed to put this on the wrong side of the towel, so it won't show. When it came to MY towel, I wanted something a bit more girly, so I dove again into my ribbons and found this one.

This ribbon is wider than the green ones I used on my hubby's towel, so I used it singly, not doubled. It still covered the worn out piece on the towel.


And...voilá! Two "almost" new towels to ring in the new year. What do you think? Pretty good, huh? 8-)
Dec. 4, 2011
Good evening!! Tonight I'll post my wreath making experiment. It came out nicely, but I bet you can improve on it.

 | |
| I chose red and green buttons for obvious reasons...hehe Also, some shiny thingies I had around the stash room. |


I CAREFULLY used a serrated knife to cut the inside circle. See my pretty skirt? 8-)


``````````````````````````````````````````````````````````````````````````````
Nov. 29, 2011
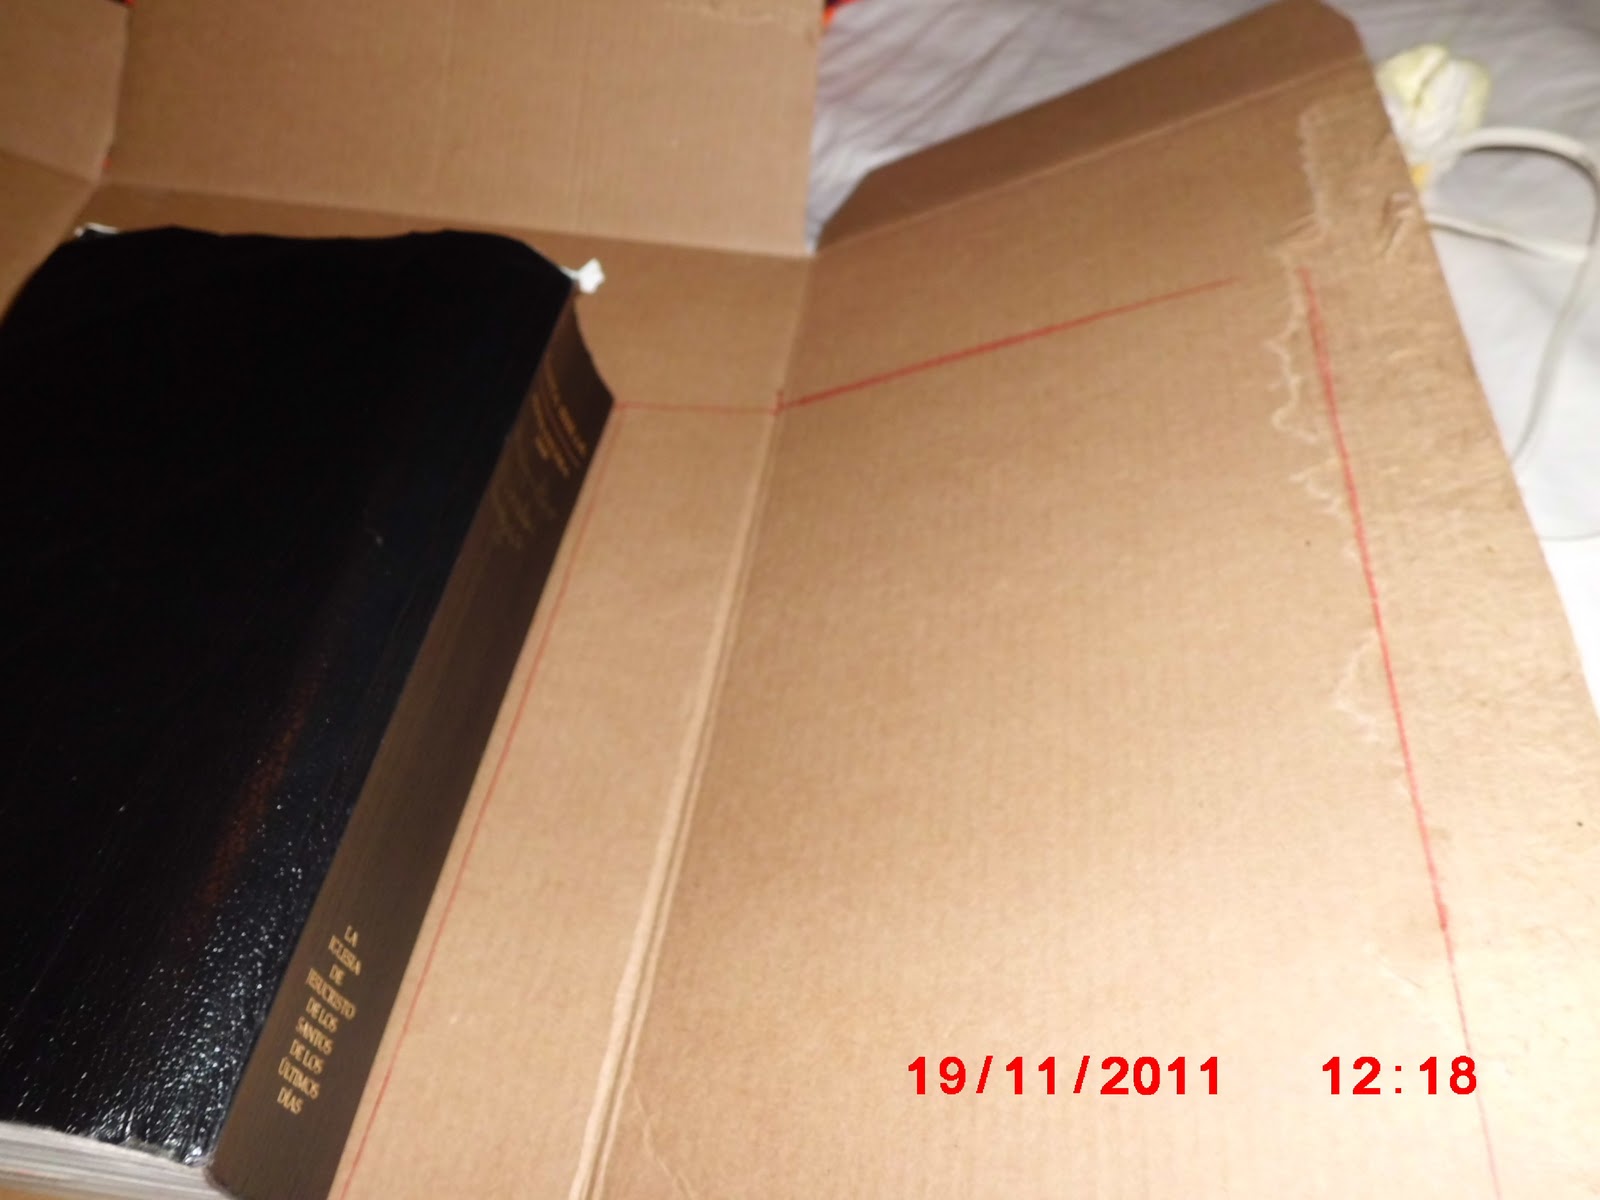
Hey there!!! Today I'm gonna share with you how to cover that flimsy covered book with some sturdier cardboard. I'm sure you have seen this done in some other blog, but not here!! hehe... So, I took some cereal boxes & started fiddling with it. It came out pretty nicely, if I say so myself... 8-)
Step 1: Get your book, some sturdy cereal box, a pair of scissors, a pen & some heavy glue, like Magna Tac or similar.


~~~~~~~~~~~~~~~~~~~~~~~~~~~~~~~~~~~~~~~~~~~~
Storing Rice...
Today I will share some pictures on how I store rice for long term storage. I've been doing this for two years now, and not a single grain of rice has been lost due to bugs or humidity. Mind you, We live in Puerto Rico, land of high humidity and bugs...8-P
Now, on to the pics!
 | |||||||||||
| First, you need a CLEAN gallon or half gallon juice bottle. I get mine from the recycling center, take them home, wash them and let them dry for a couple of days. |

 | |
| The laurel leaves are necessary, but not the silica gel packets. I got these through ebay, and I use them just because we live in an extra humid house, in a very humid island of the Caribbean. 8-) |


 | |
| Begin by tossing some laurel leaves inside the empty bottle, and a packet or two of the silica gel, if used. |

 |
| Start adding the rice, and every two or three cups of rice, add a leaf, if you want. |


 | |
| When your bottle is full, remember to pack the rice down by thumping the bottle on the counter surface. Add a last leaf and a silica gel packet (if used), and put lid on. |


 |
| Wrap the lid with transparent tape, some people use candle wax to cover all possible bug entrances, various wraps will do. Label and store. Viola!!! Rice stored for a few years. Right now I'm using rice I stored on Feb. 2009 and it's still as good as new. Remember to bless your storage (prayer) because only your Father in Heaven knows how long you will be storing this and/or how soon your might need it. Besides, being human, we can all make mistakes, and prayer covers all kinds of mistakes in the process. Happy storing!! |
Second "tutorial"...
How to make yarn out of fabric.
First, wash & dry your fabric. Lay flat.
Cut without cutting all the way to the end...
Stretch & tie up ends.
Roll up into balls & use!!!!
I plan on using mine with some plarn and make some cute bags!!
8-)
Ok, so I don't really know how to make a lot of things. However, yesterday I found myself making "burning buddies" or those little cans sold for camping trips, by the name of Sterno. Why, you might ask, do I need to make these? Well, my name is Jackie, and I'm a PREPPER. There! I do believe in self-sufficiency, as taught by the Church of Jesus Christ of Latter-Day Saints. This means to be ready for everything, and to live frugal, productive lives.
Anyway, I make these thingies to have on hand in case of a power outage....and to give to family & friends in case of a power outage occurs to them. I do have a gas stove...
So I decided to "enrich" my blog and future generations by documenting my way of doing these burning buddies.
I have included pictures and everything!!! Hope you like it, enjoy reading it, and find it educational enough to make some of your own for those 'lights-out' days...
8-)
##################################################################################
+++++++++++++++++++++++++++++++++++++++++++++++++++++++++++++++++++++++
How-To #3:
Christmas (or any other holiday) Wreaths
... and I'm happy to say I came up with this one all by myself!!
These cuties are quick to make, & not expensive, if you use those plastic water bottles that you were planning on taking to the recycling center...
So, first, you collect those plastic bottles, and cut them in rounds, like this:


The only thing you have to do then is single crochet around the ring using a, preferably chunky, Christmas yarn, or an acrylic worsted weight yarn.


 Like this...
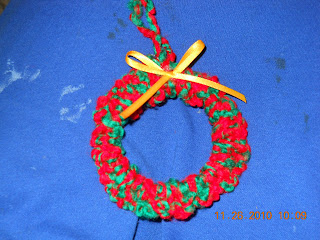
Add a thin ribbon bow and a piece of yarn for hanging...
and PRESTO!!!!
Cute Christmas wreaths from recycled plastic bottles!
8-)
~~~~~~~~~~~~~~~~~~~~~~~~~~~~~~~~~~~~~~~~
So this will not be exactly a tutorial, but I am gong to show you some pictures of where and how I store my food and other supplies.
+++++++++++++++++++++++++++++++++++++++++++++++++++++++++++++++++++++++
How-To #3:
Christmas (or any other holiday) Wreaths
... and I'm happy to say I came up with this one all by myself!!
These cuties are quick to make, & not expensive, if you use those plastic water bottles that you were planning on taking to the recycling center...
So, first, you collect those plastic bottles, and cut them in rounds, like this:


The only thing you have to do then is single crochet around the ring using a, preferably chunky, Christmas yarn, or an acrylic worsted weight yarn.


Add a thin ribbon bow and a piece of yarn for hanging...
and PRESTO!!!!
Cute Christmas wreaths from recycled plastic bottles!
8-)
~~~~~~~~~~~~~~~~~~~~~~~~~~~~~~~~~~~~~~~~
So this will not be exactly a tutorial, but I am gong to show you some pictures of where and how I store my food and other supplies.
 |
| These are shelves my hubby made under the clothes in the closet. |
 |
| Inside the guests' room closet. Notice the 2-liter bottles and juice gallons. They have dry pasta, rice and sugar in them. |
 |
| This is in another closet. The part covered by curtains have more boxes of rice oats, and MRE's.
As you can see, your food storage can go anywhere in your house. Just be creative!!!
8-)
|
No comments:
Post a Comment